The Ultimate Guide to Handmade Wire-Wrapped Jewelry: Techniques, Tools & Trends
Introduction: The Art of Wire-Wrapped Jewelry
Wire-wrapping is an ancient jewelry-making technique that’s experiencing a modern renaissance. At Zoomver, we specialize in creating exquisite handcrafted pieces that blend traditional craftsmanship with contemporary design. This comprehensive guide will explore:
- The growing popularity of wire-wrapped jewelry
- Essential tools for beginners and professionals
- Step-by-step techniques for stunning creations
- Current trends in the wire-wrapping community
Why Wire-Wrapped Jewelry is Dominating the Market
The Rise of Artisan Jewelry
Recent market research shows:
- 68% growth in handmade jewelry sales over the past 5 years (Craft Industry Alliance)
- 42% of millennials prefer artisanal pieces over mass-produced jewelry
- 57% premium price tolerance for unique, handcrafted designs
Benefits of Wire-Wrapping
✨ No soldering required – Perfect for beginners
✨ Eco-friendly – Minimal waste production
✨ Versatile designs – From delicate to statement pieces
✨ Showcases natural stones – Highlights raw beauty
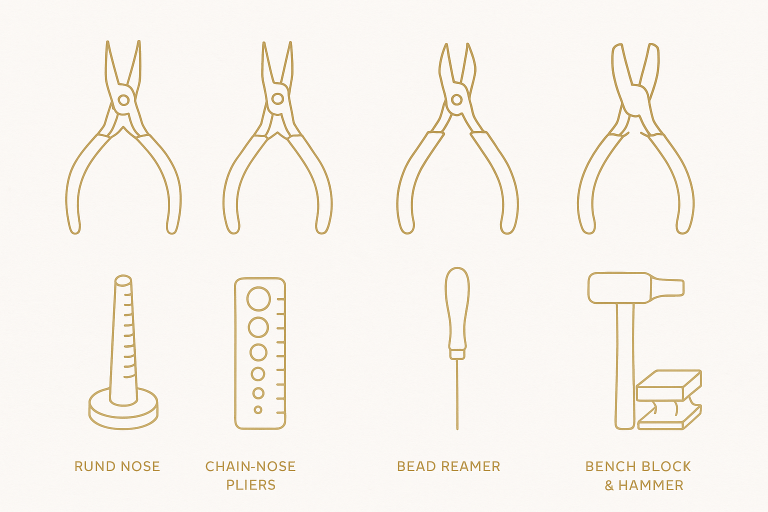
Essential Tools for Wire-Wrapping Success
The Basic Starter Kit
- Round-Nose Pliers ($15-$50)
- Creates perfect loops and curves
- Look for ergonomic handles for comfort
- Chain-Nose Pliers ($12-$40)
- Grips and bends wire precisely
- Essential for tight spaces
- Wire Cutters ($10-$35)
- Flush-cut design prevents sharp edges
- Invest in quality to avoid wire deformation
- Mandrels ($8-$25)
- For consistent ring and loop sizes
- Available in various diameters
Advanced Tools for Professionals
- Nylon-Jaw Pliers ($20-$60): Prevent wire marring
- Bail-Forming Pliers ($25-$70): Creates perfect pendant bails
- Rotary Tumbler ($80-$200): Professional finishing
Pro Tip: Start with mid-range tools (about $100 total investment) before upgrading to professional equipment.
Step-by-Step Wire-Wrapping Techniques
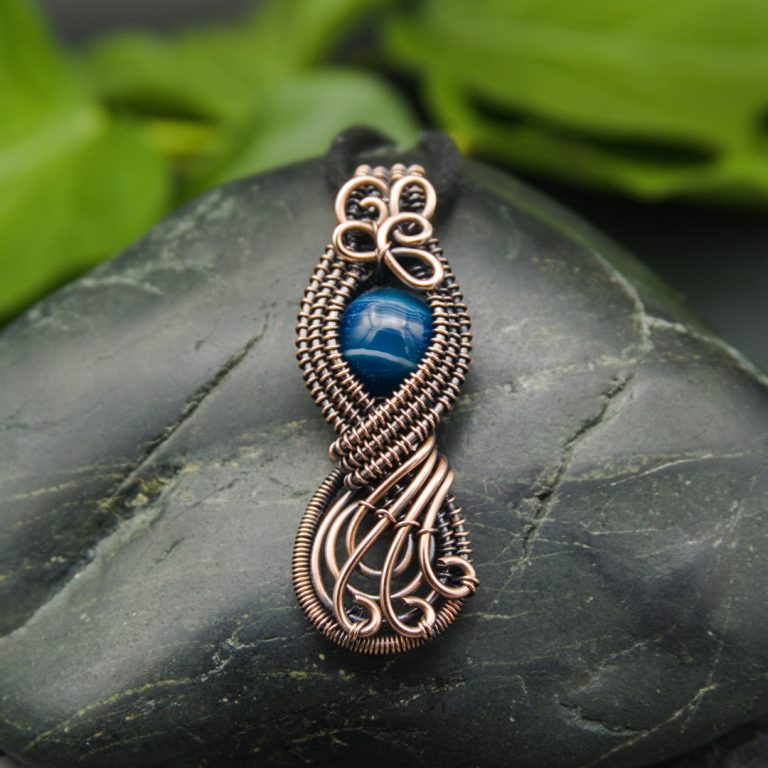
Beginner Project: Simple Wire-Wrapped Pendant
Materials Needed:
- 20-gauge dead-soft wire
- 26-gauge half-hard wire
- 1 raw stone (8-12mm)
- Basic tools
Instructions:
- Create the Frame (20-gauge wire)
- Measure 6 inches of wire
- Form a U-shape around your stone
- Twist ends together at the top
- Secure the Stone (26-gauge wire)
- Start wrapping at the base
- Use tight, even coils
- Alternate directions for visual interest
- Finish the Bail
- Create a loop at the top
- Tuck in all wire ends
- Polish with a soft cloth
Estimated Time: 45-60 minutes for first attempt
Intermediate Technique: Viking Knit Chain
- Start with a dowel and 26-gauge wire
- Create initial loops using the “anchor” method
- Continue adding links in a consistent pattern
- Draw through a drawplate for tightening
Pro Tip: Use beeswax to lubricate wire while drawing through plate
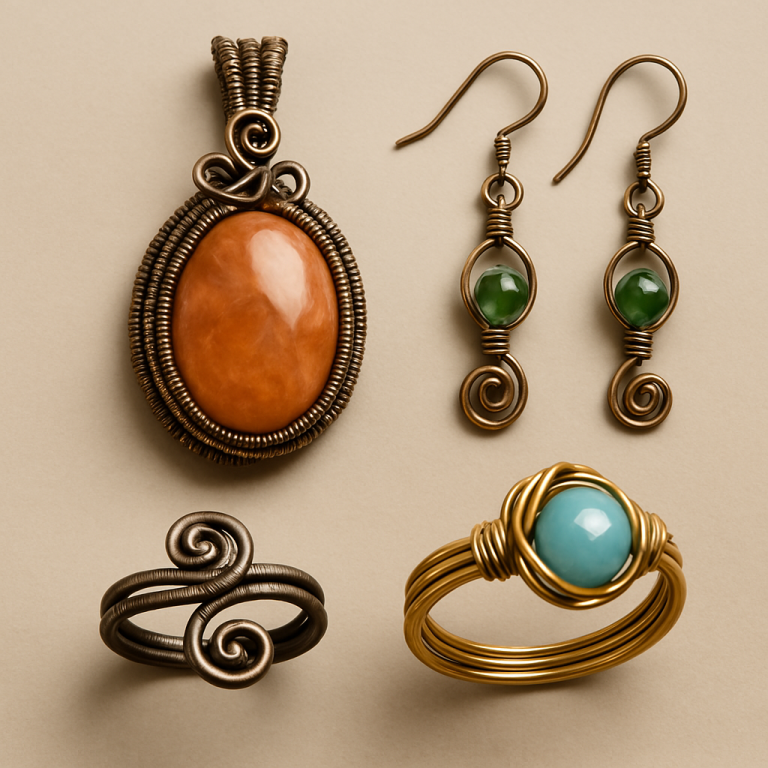
Current Trends in Wire-Wrapped Jewelry
Popular Styles for 2023-2024
- Organic Minimalism
- Simple frames highlighting natural stones
- Mixed metal accents
- Geometric Precision
- Clean lines and symmetrical designs
- Incorporation of gemstone points
- Boho Luxe
- Layered necklaces with varied textures
- Incorporation of beads and charms
- Sustainable Statement Pieces
- Recycled metals
- Ethically-sourced stones
- Zero-waste production
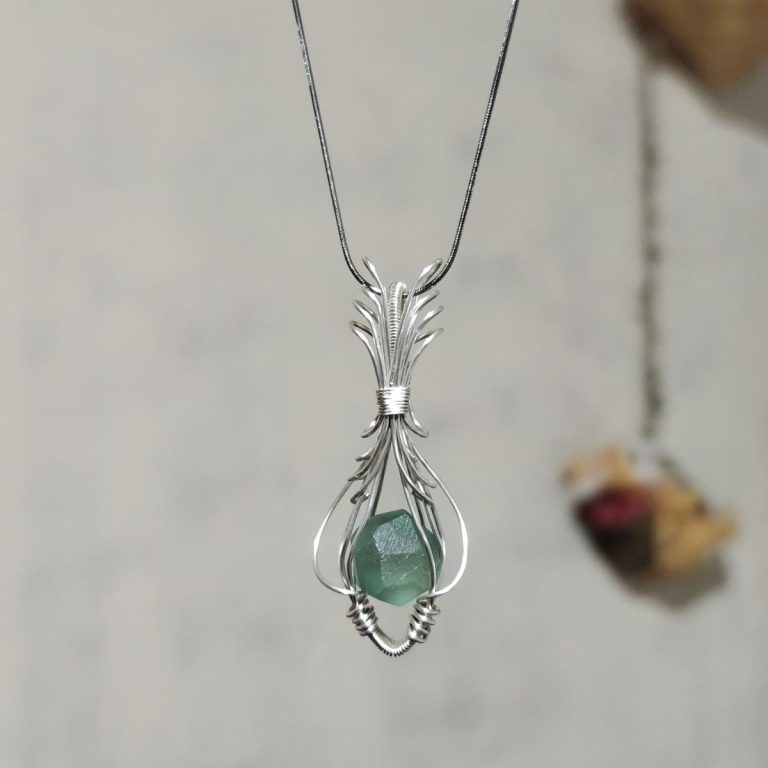
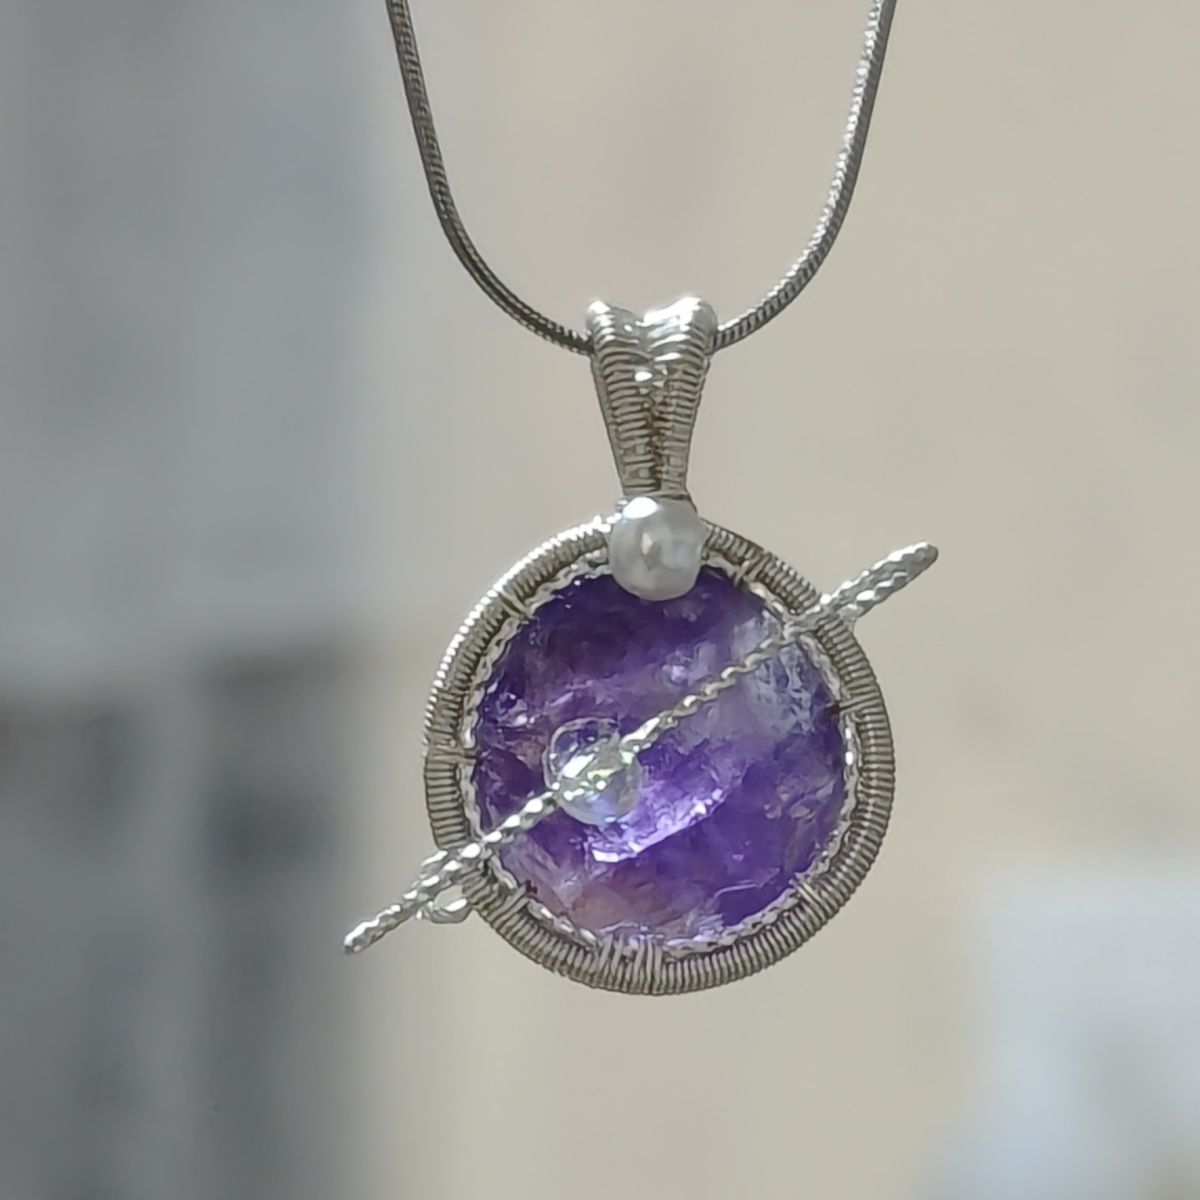
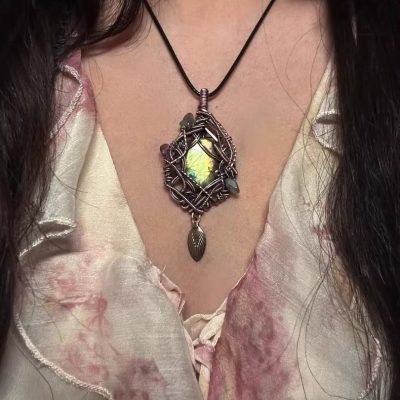 Unique niche necklace, medieval bohemian style, handcrafted natural stone and crystal gemstone necklace with metal wire wrapping.