The Art of Wire Wrapping: A Beginner’s Guide
The Art of Wire Wrapping
A Beginner’s Guide to Handmade Jewelry
Discover the Timeless Craft of Wire Jewelry
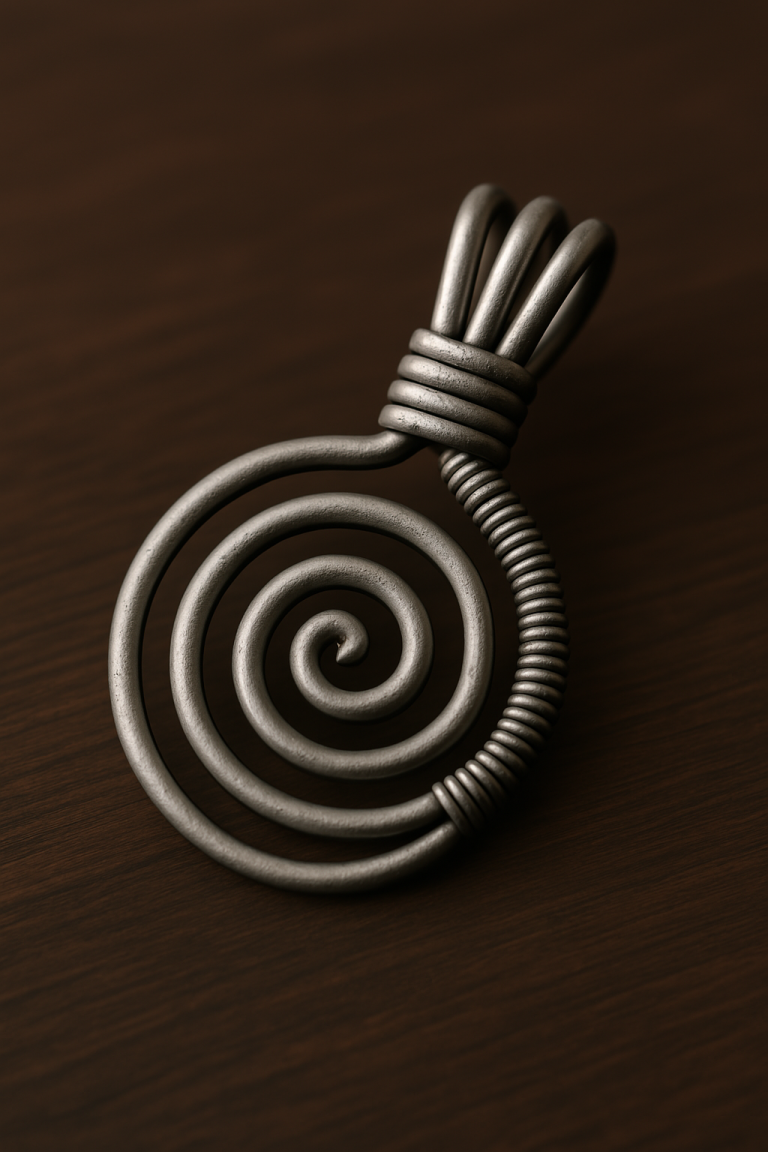
Wire wrapping is an ancient and versatile jewelry-making technique that transforms simple wires into stunning wearable art. Whether you’re looking to create unique gifts or start a new creative hobby, wire wrapping for beginners offers endless possibilities.
A Brief History of Wire Wrapping
Wire wrapping dates back thousands of years, with evidence of intricate metalwork found in ancient Egyptian, Greek, and Celtic jewelry. Early artisans used gold, silver, and copper wires to craft elaborate adornments, often incorporating beads and gemstones.
During the Middle Ages, wire wrapping evolved alongside metalworking techniques, with artisans creating chains, filigree, and decorative clasps. In the 20th century, the rise of handmade jewelry movements revived wire wrapping as a popular craft, blending traditional methods with modern aesthetics.
Essential Tools for Wire Wrapping Beginners
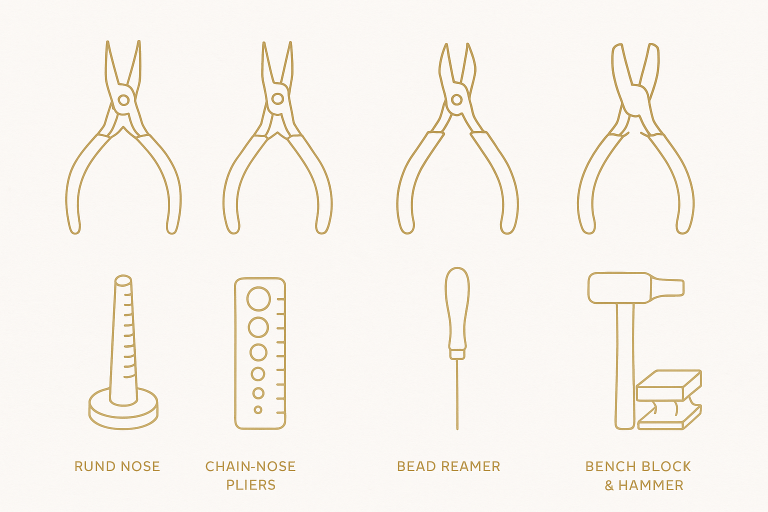
Before diving into your first project, you’ll need a few basic tools. Here’s a beginner-friendly list:
Pliers
- Chain-nose pliers (for gripping and bending wire)
- Round-nose pliers (for creating loops and curves)
- Wire cutters (for trimming excess wire)
Wire Types
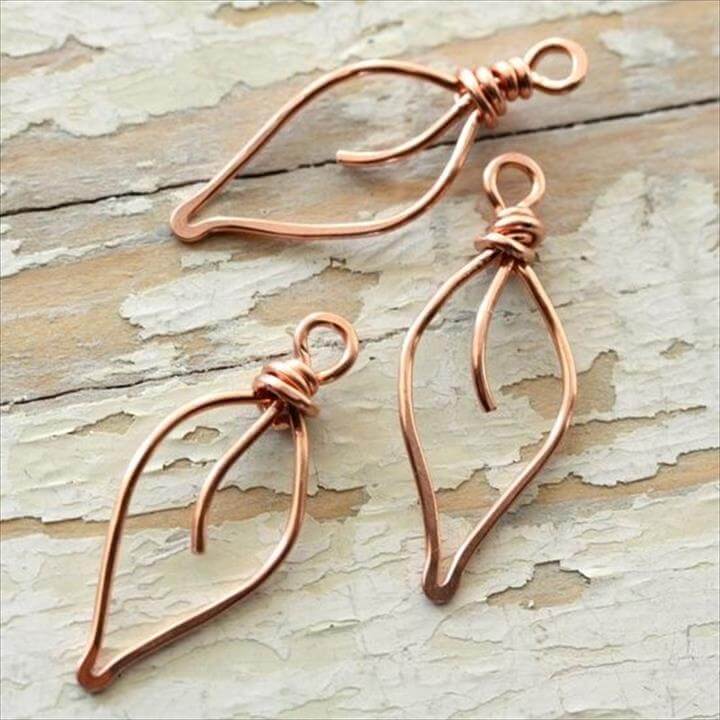
- Copper wire (affordable and great for practice)
- Sterling silver wire (for more polished jewelry)
- 20-24 gauge is easiest for beginners
Additional Supplies
- Mandrel or ring sizer
- Nylon-jaw pliers
- Jewelry files
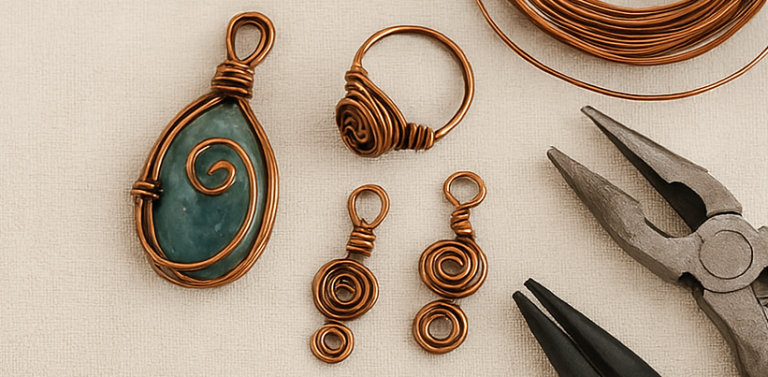
Simple Starter Project: Wire-Wrapped Ring
Now that you have your tools, let’s create a beginner-friendly wire-wrapped ring using copper wire.
Materials Needed:
- 20-gauge copper wire (approx. 6 inches)
- 26-gauge copper wire (for wrapping)
- Ring mandrel or round object for sizing
- Chain-nose and round-nose pliers
- Wire cutters
Shape the Base Ring
Cut a 6-inch piece of 20-gauge wire. Wrap it around the ring mandrel (or a marker) to form a circle. Overlap the ends slightly and trim any excess.
Secure the Ends
Use chain-nose pliers to twist the overlapping ends together. Ensure the ring is snug but comfortable.
Add Decorative Wrapping
Cut a 12-inch piece of 26-gauge wire. Leave a small tail, then wrap it tightly around the base wire 3-4 times. Continue wrapping in a spiral pattern along the ring’s band. Secure the end by tucking it under the last few wraps and trimming excess.
Finishing Touches
Use nylon-jaw pliers to smooth any sharp edges. Gently shape the ring for a perfect fit.
Final Thoughts
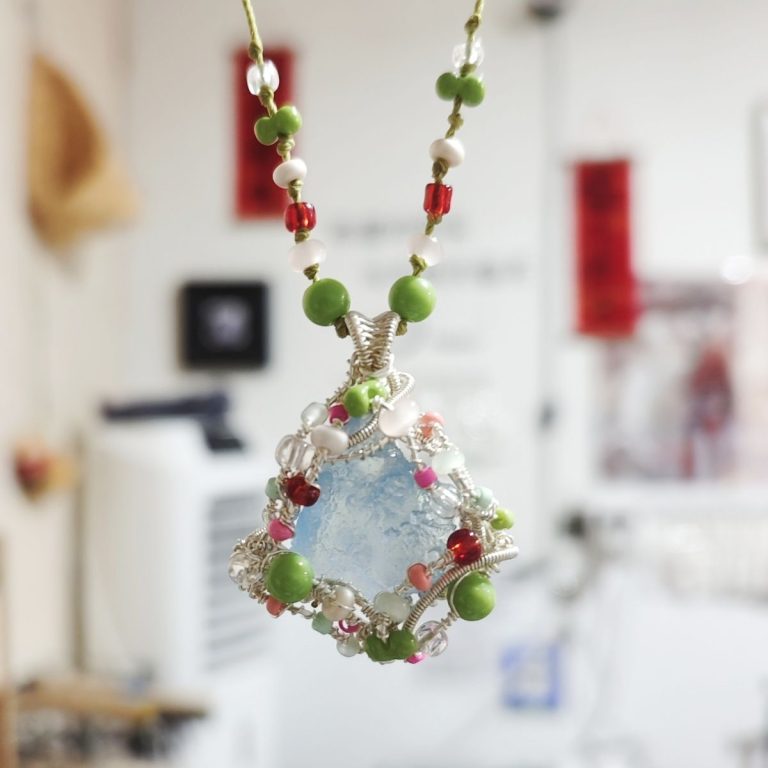
Wire wrapping for beginners is a rewarding craft that blends creativity with precision. With just a few tools and some practice, you can create stunning handmade jewelry. Start with this simple ring project, then explore more advanced techniques like stone settings and intricate weaves.
Ready to dive deeper? Check out our next guide on “Intermediate Wire Wrapping: Adding Gemstones to Your Designs.”
Would you like recommendations for online wire-wrapping courses or additional project ideas? Let us know in the comments!